You are about to discover how to infuse your hair with moisture AND make your wash and go’s look better without taking two hours to shingle product through your hair!
I don’t know about you, but I have never been a big fan of WnG’s on my hair. I always had to use half the jar of gel and my hair ended up feeling crunchy with white residue galore.
Ew!
So I gave up on the style. Too much time and effort for cakey, shrunken hair.
Even if you are not a fan of WnGs, stick around. The max hydration method described below can be done with a twist out instead of a wash and go.
 Hellooooo Maximum Hydration Method! Where Have You Been All My Life????
I first read about The Maximum Hydration Method on Pinke Cube’s site and discovered that the reason my hair didn’t like WnG’s was because it was too dry.
You may think you are moisturizing your hair enough, but if you’re using lots of sulfates, “cones” (products that have ingredients ending in -cone) or not applying water-based moisturizers enough, your hair could be thirsty.
There’s a whole lot of science behind why the method works (and you really should ONLY use the recommended products), but the bottom line is…
When your hair doesn’t have enough moisture, it shrinks up more and needs more product to stay moisturized.
So when your hair is fully hydrated, the opposite happens.
You’ll also have stronger hair, fewer tangles and your natural pattern will come out.
See the steps below…
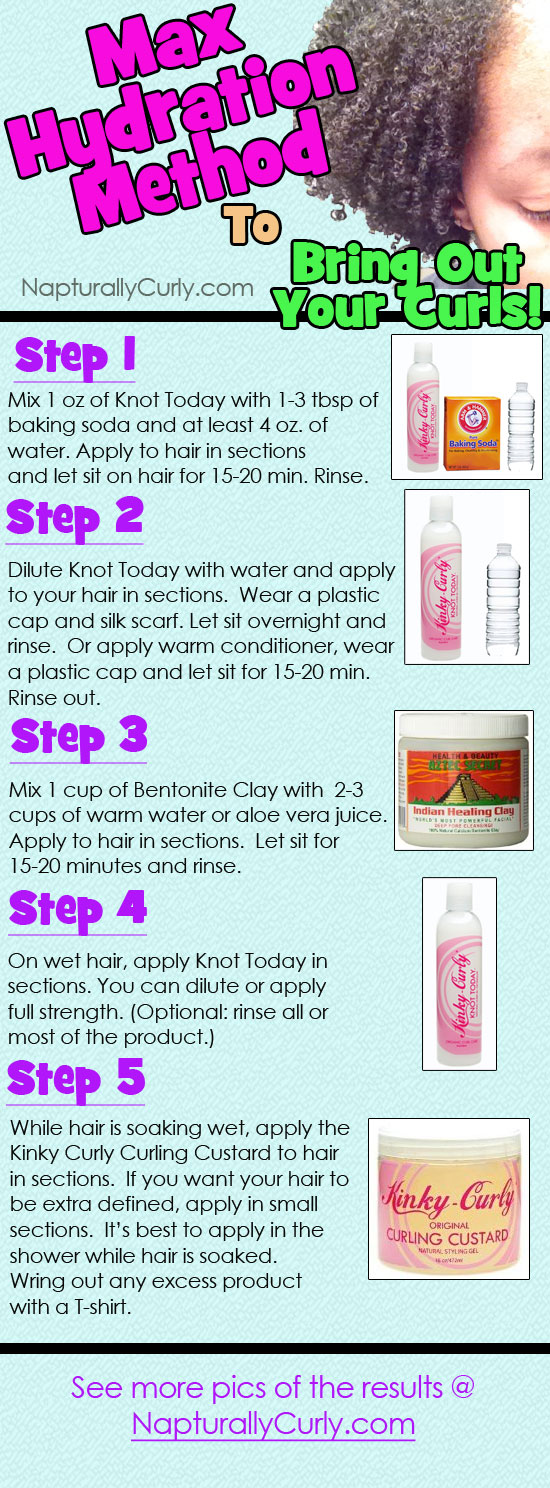
5 Steps to Max Hydration
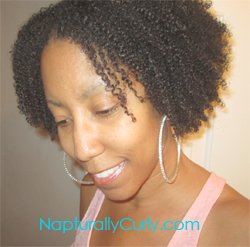
Don’t get too discouraged by this, but you’re really supposed to do this for 7 days in a row the very first time you do it. The idea is to get your hair to its maximum hydration level.
After it reaches that, you can do it every few days.
I only did it for 3 days total and I didn’t do it daily. I did the 5 steps every OTHER day.
And even though I didn’t do it 7 days straight as suggested, I still got great results! One day I may try 7 days consecutively.
For Best Results…
If you really want elongated, defined curls not only should you do this daily for the first 7 days, BUT you need to section your hair and saturate your strands from root to tip to make sure every strand is coated.
I admittedly didn’t saturate every strand so that’s probably why my hair is poofier than it could be. But I’m OK with that. I actually like a fuller, fro look.
******** IMPORTANT *********
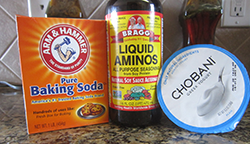
For the first day, it’s recommended you do the Cherry Lola Treatment (CLT) instead of step 1 below. It’s a protein treatment that also helps moisturize your hair. You mix…
- 16 oz. of full-fat, plain yogurt
- 2 tbsp of baking soda
- 2 tbsp liquid aminos (found in soy sauce aisle of health food store)
PLEEEEEEEEEEEASE NOTE! Baking soda is known to have a relaxing effect on the hair and could loosen your curl pattern temporarily. So please be careful or use a very small amount if you are concerned about this. You have been warned.
Apply mixture to your hair and let it sit for 30 minutes under a plastic cap and rinse. Then proceed to step 2 below. The remaining days do steps 1-5. The CLT should not be done more than every two weeks.
I would highly recommend sectioning your hair into at least 4 sections and keeping it that way. Your hair will be so much easier to work with. And as your hair becomes more hydrated, the process gets faster because there are fewer tangles and your hair is softer.
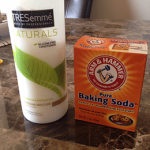
Step 1) Clarify your hair with a mixture of 1-3 tablespoons of baking soda, water and 1 to 3.5 oz. of silicon-free, natural conditioner.
The first time I did the method I used TRESsemme Naturals Nourishing Moisture Conditioner with Aloe and Avocado, but now I use Knot Today.
If your hair is fairly clean or sensitive to baking soda, limit the amount you use.
You can also use a 1:1 ratio of apple cider vinegar (the Braggs brand is great) and water. I didn’t try this option. I always use conditioner and baking soda.
Section your hair in at least 4 sections and add the mixture to your hair from root to tip. Leave on for 15 minutes and rinse out with warm water.
This step helps clean your hair (baking soda or apple cider vinegar) without stripping it of moisture (conditioner adds moisture).
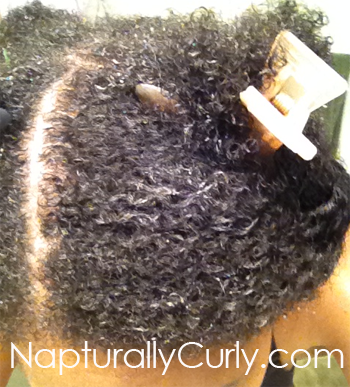
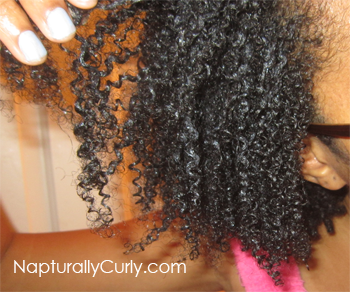
Here’s my hair after applying the baking soda/water/conditioner solution.

Apply to wet hair in sections and let sit under a plastic cap for 15-20 minutes.
You can also apply room-temp conditioner, wear a plastic cap, wrap up your hair in a silk scarf and sleep with conditioner overnight.
It’s actually best to let it sit overnight and I do notice better results when I do this, but if you are in a hurry, the heated option works too.
Rinse out. Detangle in the shower while rinsing (preferably with your fingers).

Make sure the water is warm or your clay won’t dissolve.
Apply to wet hair in sections and very carefully with a towel handy (because it’s very messy). Be sure to lift up sections of your hair and distribute clay from root to tip.
The clay is detoxifying your hair and prepping it to absorb and retain moisture.
Rinse clay with warm water. Be sure it’s completely rinsed out or your hair will get dry.
Step 4) While your hair is soaking wet (and I do mean soaking wet), apply a silicon-free conditioner one section at a time. I prefer Knot Today.
If you are doing a wash and go, rinse your hair for a quick second (literally) under the shower after applying.
Step 5) Immediately apply a botanical gel on soaking wet hair. I use Kinky Curly Curly Custard (buy at Target or online). Do NOT use gel with protein like Eco Styler. It should be a botanical gel. Goddess Curls (by Curls) is another and you can also use flaxseed gel. (See my homemade recipe for the flaxseed gel here.)
The wetter your hair is when applying, the better the product will dissolve and not leave that residue.
I would NOT recommend waiting until you are out of the shower. Apply the gel IMMEDIATELY.
You can shingle it through small sections if you want for extreme definition, but I just apply generously by raking through each section one or two time. This is best for a fuller look.
It takes me 5 minutes total to apply the 2 products. Yes, those days of shingling are over.
Let hair air dry. To speed up the drying process wring excess water with a T-shirt by gently squeezing the hair (towel makes hair frizzy). Shake head in shower or over tub to get even more excess water out.
If you see residue, you either did one or more of the following…
- You used too much gel (as your hair gets hydrated you need less).
- You didn’t ensure your hair was soaking wet when you applied the gel
- You didn’t smooth gel through your hair
If you don’t like gel, you can apply a natural oil if you wish. You just won’t have the definition. You can also twist your hair and do a twist out if you wish.
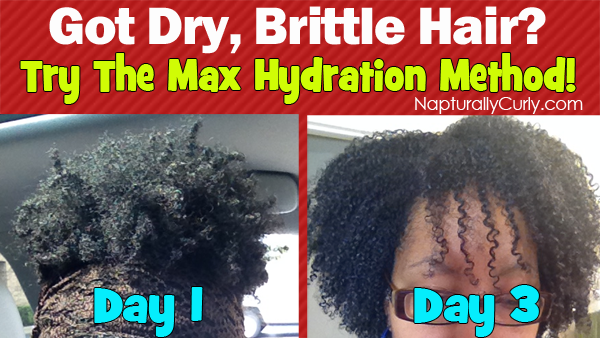
You may not notice a big difference in your hair after the first treatment. But you will definitely see a difference by the 3rd day.
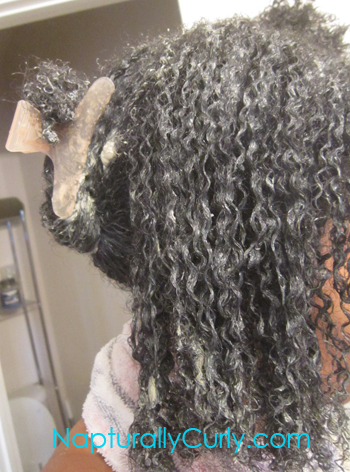
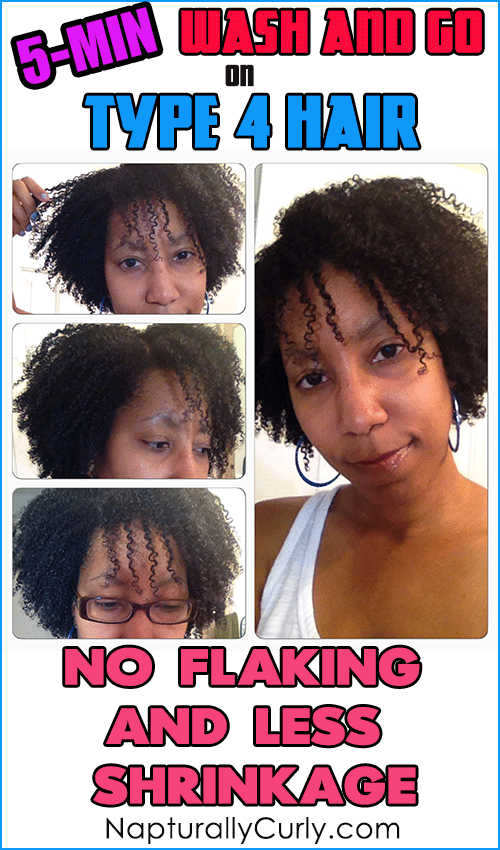
Here’s my wet hair after step five…
What Happens When You Stop The Method?
To get the best results, you should do the method consistently until your hair reaches max hydration. You will know because your hair will have definition from root to tip when your hair is product free.
After that, you should do all steps every 3-4 days to keep your hair hydrated.
I never did the method until I reached max hydration. I was happy with the results after 3 days. Plus, baking soda can alter your texture (loosen curls) and I didn’t want that to happen.
Afterwards I started doing the method every 4 days for about a week and a half. Then I would do some of the steps every 3-4 days.
For example, I would only do steps 1, 4 and 5 (skipping the deep conditioning overnight and the clay). My hair still looked great but not quite as stretched.
The pic on the right is my hair after only doing steps 1, 4 and 5. Notice my curls are still very clumped and defined, but my hair is more shrunken than the above pics (less hydration).
Also remember, I never take time to shingle the gel through every strand. (Ain’t nobody got time for that!) 🙂 I literally just smooth it through one section at a time.
So my curls are not even as defined as they could be. But I like a fuller look.
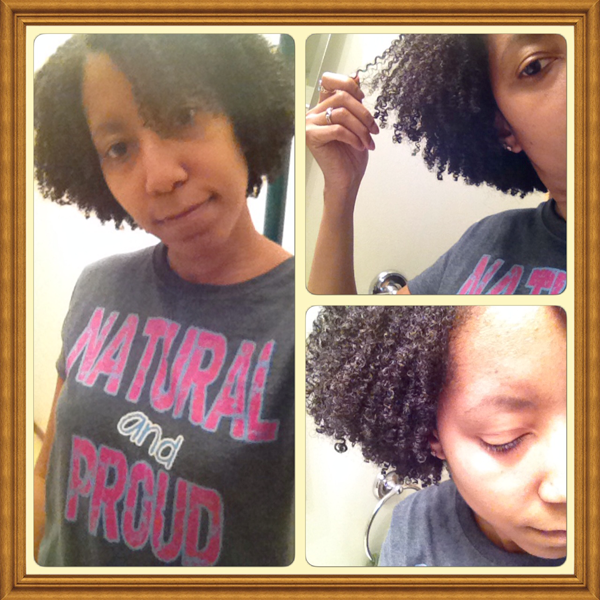
So you don’t have to do the full method everyday to get good results. But even if I don’t do all 5 steps, I still do steps 1, 4 and 5 to maintain some degree of hydration.
Since I started the method, I have not gone more than 4 days without washing my hair. This is ideal since your hair can get tangled with wash and go’s.
Got Questions?
I’ve started a maximum hydration thread in the forums.
For complete details on the method and product alternatives for the various steps, see the site that taught and inspired me.



Do you still wash your hair with shampoo while on this regimen ?
This process has been AMAZING!!! I saw results after the very first day!!! My hair has never been so hydrated and my curls have never consistently looked so amazing. Thank you for this tutorial!!!
Do I really need the baking soda for the Cherry Lola treatment? What is the purpose, I’m scared of it messing with my curl pattern as you mentioned
Am I supposed to do all steps in one day for the 7 days?
Lisa,
I love your site. I have used this MHM and my curls are so tight. I want to know is Aussie Mega Moist Shampoo and Conditioner ok to use in my regimen?
No, they have silicones in them, I checked!